Thursday 30 July 2015

Inside Spinning Card

Hello Everyone, Thanks for stopping by.
I can't believe that we are at the end of July! Where has the last month gone?
Mind you its been pretty busy here, what with my youngest daughters graduation and my son moving flats.
So I have two cards to share with you today. One was the card I made for my daughters graduation and one for a Card Swap group I am in, although the lady who was running the group has decided to finish running it now! Such a shame as I have met some lovely people through the group! I hope we keep in touch even if we aren't swapping cards each month!
So here are the cards I have made recently!


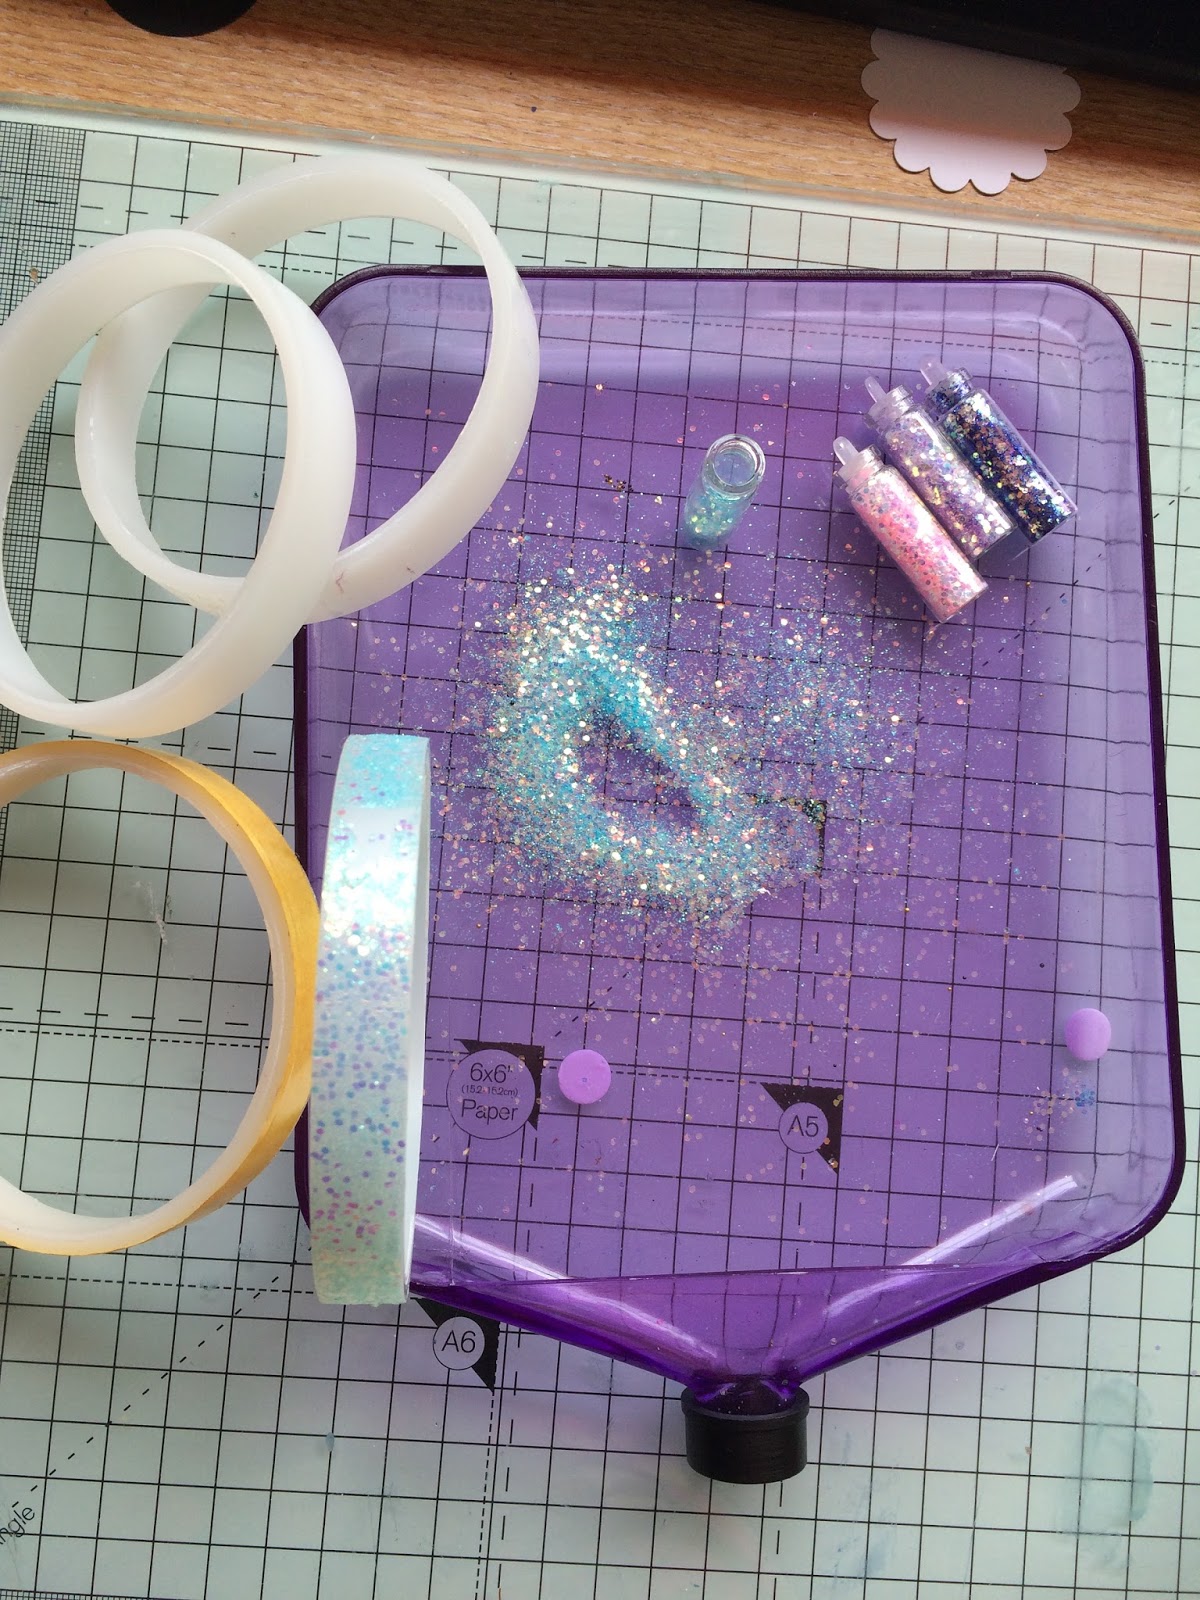
This is the Shaker Card made for my daughter.


Here is the second card, an Inside Spinning Card.


The inside of the card was decorated with a few different Stampin Up sets.
Perpetual Birthday Calendar, Dotty Angles and Circle of Spring. I also punched out a few tiny flowers and added pearls to the centers!


The main spinning image was two of the wreaths stamped, coloured then cut out using the die from the Wonderful Wreath Framelits die set. These were glued together sandwiching a piece of clear thread between them.
                            

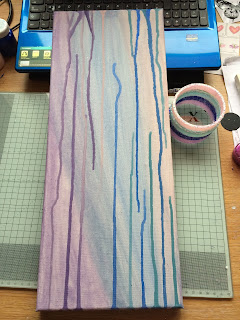
Well im off now to play with my new set of Brusho Colours. Will let you know how I have got on with them over the next few days.
Happy Crafting xx


Saturday 18 July 2015

Flutterby Tag Card

Hello There, Welcome to my Crafting Blog.
So today I have a Tag Card to share with you, it was created using lots of different crafting materials.


To start off with I wanted to create a Poppy, but instead of stamping onto card I thought I would use tissue paper and put the image into a large bottle cap which I purchased from IndigoBlu, so I first painted the cap red, once dry I glued in the stamped and coloured Poppy head image. For the stem of the poppy I used gold embossing powder and added a little green colour with SU markers, the buds of the poppy were coloured red and crystal effects were added over the top! 


The main background was made by stamping with VersaMark ink and gold embossing powder using the Dinky 'Flutterby' Stamp. 

The small butterflies on the card were stamped onto shrinkies plastic with StaZon Inks, shrunk then one of them was made into a hanging embellishment and the other one was glued onto the stem of the poppy!


The Butterfly on the poppy was made using the modeling film and StaZon inks as in my previous post. Tiny black beads were added to the poppy once I had coated it in clear embossing powder and coloured beads were added to the butterflies! 
To finish off the card I layered the black and gold piece onto a piece of Stampin up Coastal Cabana card, then onto a black card blank!
Although I have done an Inspirational piece already for the IndigoBlu challenge I thought I would put this card forward for this months Blog challenge to see if I might have a chance of winning a stamp!
Well if you don't try.......................................
Happy Crafting, Sue xx


Tuesday 14 July 2015

My Inspiration piece for this months IndigoBlu Blog Challenge.

Hello there Everyone, thanks for stopping by.

Last month, I submitted a card for the IndigoBlu Blog challenge and it was picked as one of the Top Three by the IndigoBlu Design Team. Well, talk about being excited, but even more so, when I was asked to create an Inspirational piece for this months challenge 'Flutterby'.
If you have a minute, go over to the blog and take a look. Lots of inspiration on offer. 
Why not enter something yourself, there's still time and you could be in with a chance to win  one of the new IndigoBlu's stamps!


So after a while of thinking about what I could do with the IndigoBlu butterfly stamps, I decided to do a canvas picture.
When it comes to crafting I do tend to hoard bits and pieces and the empty rolls from double                                              sided tape sprang to mind for this project.                                                                                                                        

So off  I went and painted the canvas with white Gee-Sso paint then once that was nearly dry I used some of the English Cottage Paints (Townhouse Teal,Grandma's Teacup, Sleeping Beauty, Aladdin and Pink Iced Gems) as a wash to add a coloured base. Once this was dry I mixed some more paint with water until it was runny enough to drip down the canvas. I then moved on to cover the rolls with glitter giving the canvas time to dry.
Once I finished getting glitter everywhere I went back to the canvas and gave it a thin coat of Snow White paint! Great shimmer and it also toned down the runs of paint!


The next step was to create the butterflies which I did using Art Parts modeling film in white. (This is such a clever film, it softens when heated up with the heat gun and you can add movement making your stamped images more realistic)! I inked up the Big Butterfly and Dinky Flutterby Stamps with several different colours of StaZon inks then cut out the images. Once I had finished giving them a little heat gun treatment I dusted the butterflies with several colours of Mica powders and added tiny beads to the bodies! 


Once the butterflies were finished I laid them out on the canvas with the rings to see how everything looked, but felt something was missing, so out came my stencils and paste to add texture, still not quite happy I added some silver thread.
 Much better!


Before gluing everything into place, I decided to add a few paint splats to the canvas in Townhouse Teal.

I hope you enjoyed reading this post, and to end it here are a couple of close ups of the finished canvas.

Take care and Happy Crafting, Sue xx