Hello to you,
Today I would like to share with you an idea I have had for a memory Jar. I had read about these a few years ago but never did anything about them until I saw a post on Facebook over Christmas and thought this time I would make my own. Now most people who put these jars together start putting in there memories from the 1st January them open them up on New Years Eve and look back at what they had achieved over the year.

Well I didn't start my jar at the right time for this idea so I thought I would do my own thing and collect together certain things to put into the jar that meant a lot to me in 2016 and would continue into the end of this year 2017 or until I can't fit anything else into the jar.
For me, 2016 was a pretty good year. I went traveling, was invited onto several of the IndigoBlu Design Teams and my children have all done really well, in their careers and personal lives.
The highlight was I went traveling with my husband around New Zealand for six weeks and my Jar depicts this in quite a few ways. I wanted to visit Hobbiton (where Lord of the Rings was partly filmed), hence the doorway on the Jar, also I wanted to show the Fern leaf as its something I have always loved the look of especially the new shoots unfurling, but also as a NZ Government vote was being taken on a possible change of their flag to show the Silver Fern. ( The vote was taken and the Flag remained the same)!
 |
I think its now time to get on and show you some photos of the jar. It started its life off as a mason jar which I first of all painted with white Gee-Soo-Good to form a good base to paint onto.
|
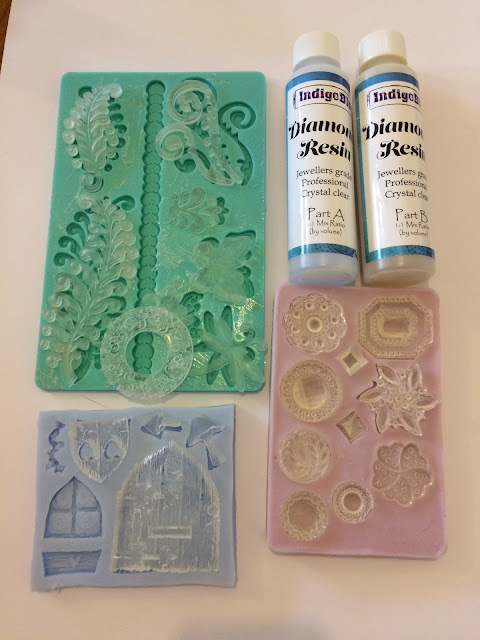 |
For this project I used the IndigoBlu Diamond resin with moulds as I found that the resin after a day of setting is still slightly flexible and be molded around a curved surface. (Make sure you use a really good strong bonding glue to attach your piece to the glass otherwise it will straighten out. I used E6000). |
 |
| Once all the pieces were glued in place I gave everything another coat of white Gee-Soo-Good then a coat of Aladdin Metallic Paint. |
 |
| Once the paint was dry I then started adding colours to all the different molded parts using Paints and Luscious Powders |
 |
| For the door I mixed up a thick paint using the Gold Luscious Powders |
 |
| The details on the door were picked out using paints and Luscious Powders and I added small polystyrene balls to ground to look like s stone path. I also added a few words to the jar using the Believe stencil and embossing paste. Once these were dry I painted them in Aladdin Paint then once dry highlighted them in white and rubbed some silver and gold Luscious powders over the top. |
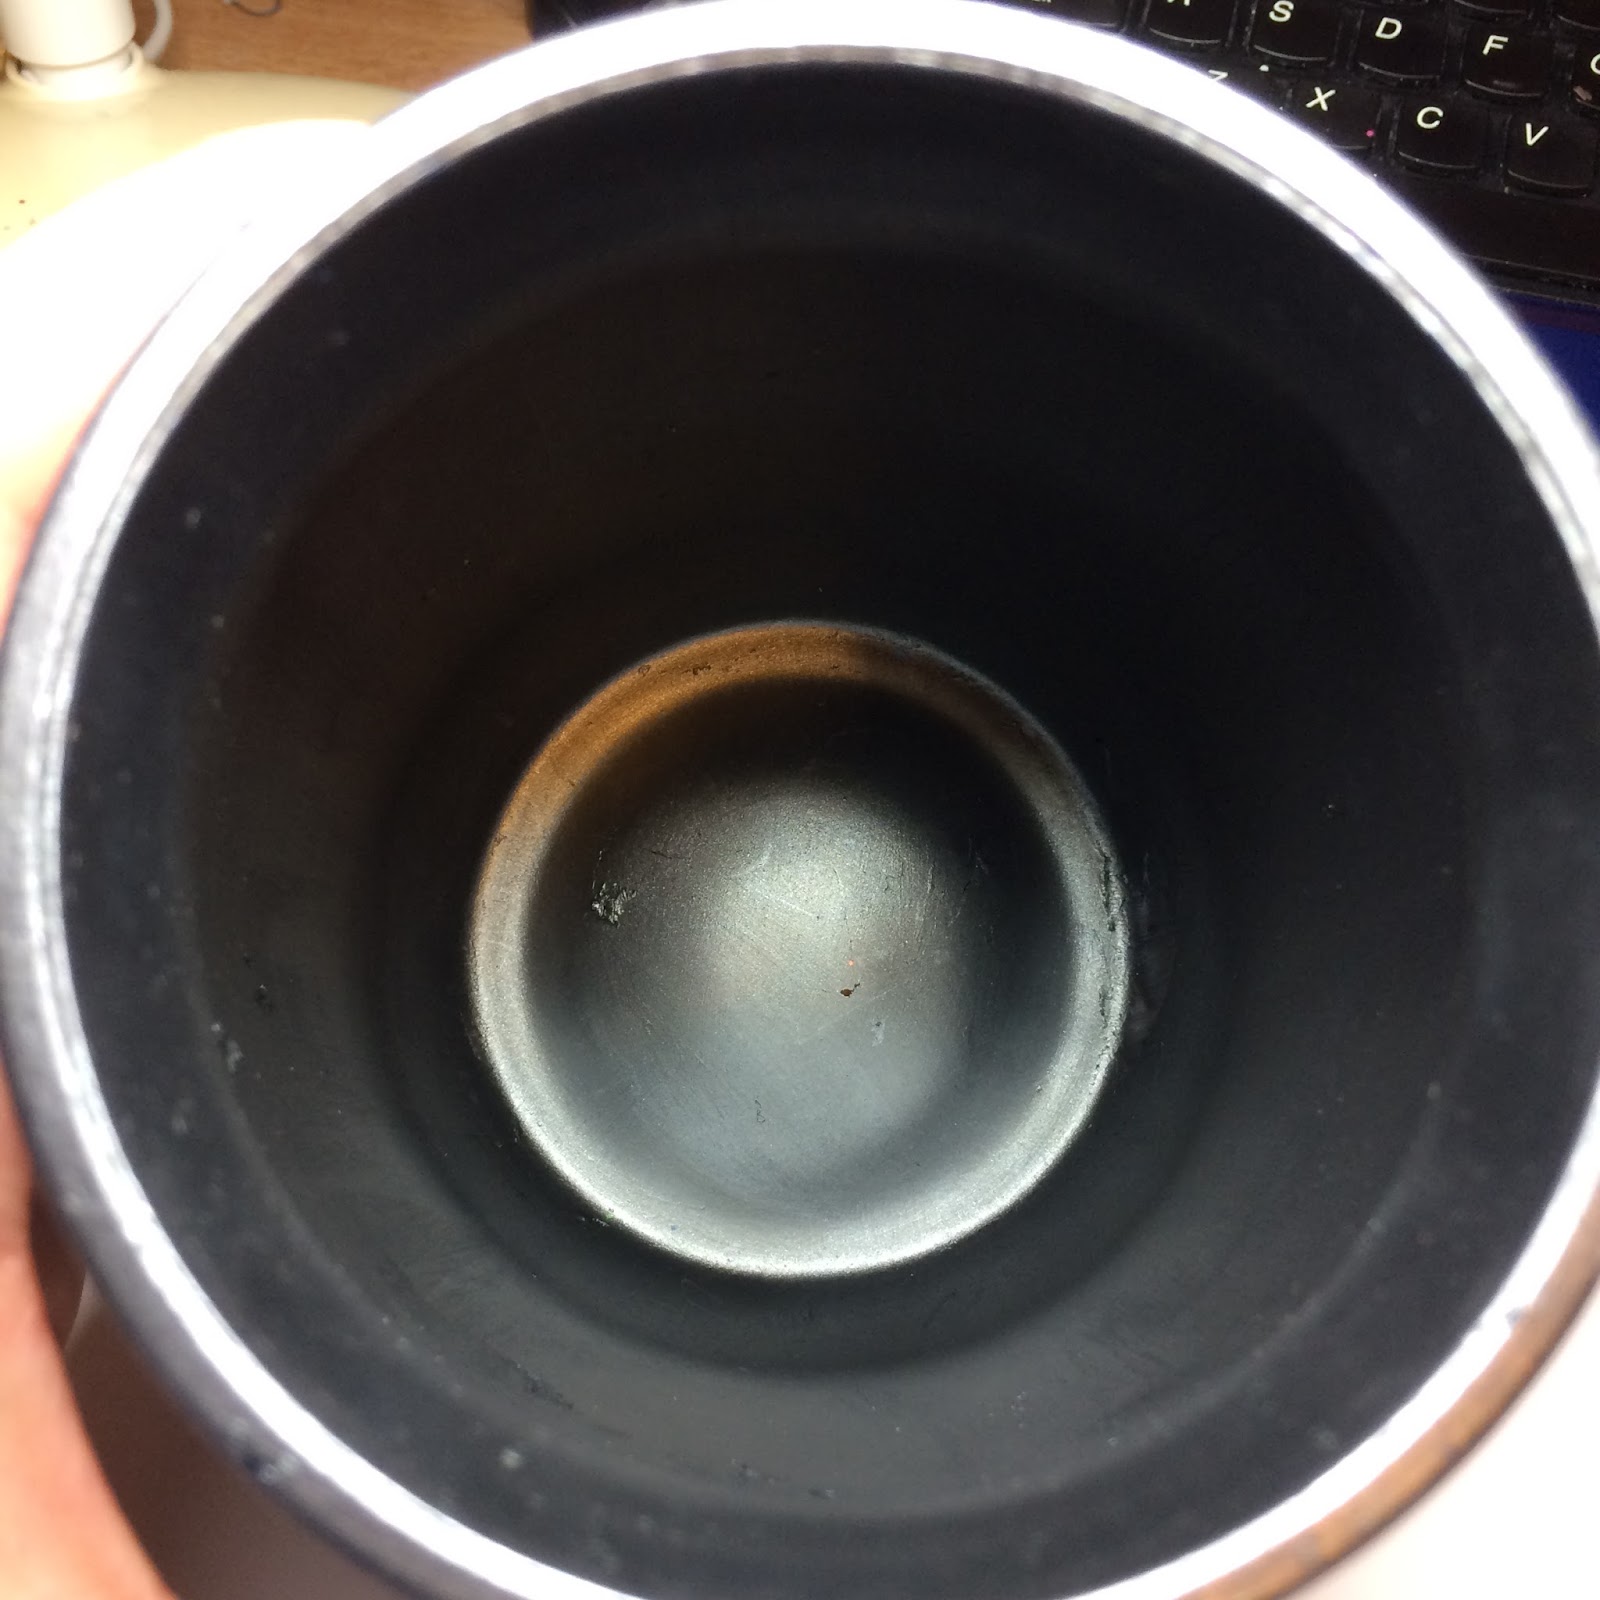 |
| The inside of the Jar was given a paint treatment, this time using Black Gee-Soo-Good and Raven Metallic Paint. |
 |
| The top of the jar is decorated with a round Resin Frame and in the middle I placed a Resin Gem all painted with Luscious Powders. |
 |
| I added a couple of small embellishments to finish off the jar. I decided to add a pen to the jar so there was always one to hand. I took the pen apart and added a piece of paper I painted with Luscious colours to match the jar. The first three tags I am going to add to the jar are photos taken on our trip to NZ. |
 |
| I hope you have enjoyed reading about my latest creation, I now have a different idea for one for my daughter who loves to travel. Once I have finished it I will share the idea with you. So thats all from me today. If you continue scrolling down, there are a few detailed photos of my jar. Thanks for looking, take care and Happy Crafting xx Don't forget to check out IndigoBlu's online Shop |


